Canva is already popular for quick designs, but many users still don’t get real value from its AI features. Most people click buttons like Magic Design or Text to Image without a clear goal—and the result feels generic. The real skill lies in learning how to use Canva AI effectively.
This tutorial explains how to use Canva AI effectively with real workflows for beginners, bloggers, students, and creators. Instead of listing tools, you will learn when to use Canva AI, how to guide it, and how to avoid low-value designs.
How to Use Notion AI Effectively (Step-by-Step Tutorial)
Table of Contents
What Is Canva AI? (Quick Context)
Canva AI refers to a set of AI-powered features inside Canva, such as Magic Design, Text to Image, Magic Write, and background tools.
These features are designed to speed up design, not replace creativity. Understanding this mindset is the foundation of how to use Canva AI effectively.
Who Should Learn How to Use Canva AI Effectively?
Canva AI is ideal for:
- Bloggers (featured images, Pinterest pins)
- Students (presentations, projects)
- Content creators (social posts, thumbnails)
- Small businesses (simple marketing visuals)
If you create visual content regularly, learning how to use Canva AI effectively will save time and improve consistency.
ChatGPT Prompts for Students’ Study (Complete Practical Guide)
Core Principle: Canva AI is a Design Assistant
Before using any AI feature, remember:
Canva AI follows your instructions and layout choices.
Weak direction = generic design.
Low-value designs usually come from random prompts and no editing. High-value output comes from clear intent + human refinement. This principle defines how to use Canva AI effectively.
Step 1: Start with the Right Design Goal
Wrong approach
“Let Canva AI design something for me.”
Right approach
“I need a Pinterest pin for a blog post targeting students.”
Always decide:
- Platform (blog, Pinterest, Instagram, YouTube)
- Audience
- Purpose (clicks, explanation, branding)
This clarity significantly enhances the effectiveness of using Canva AI.
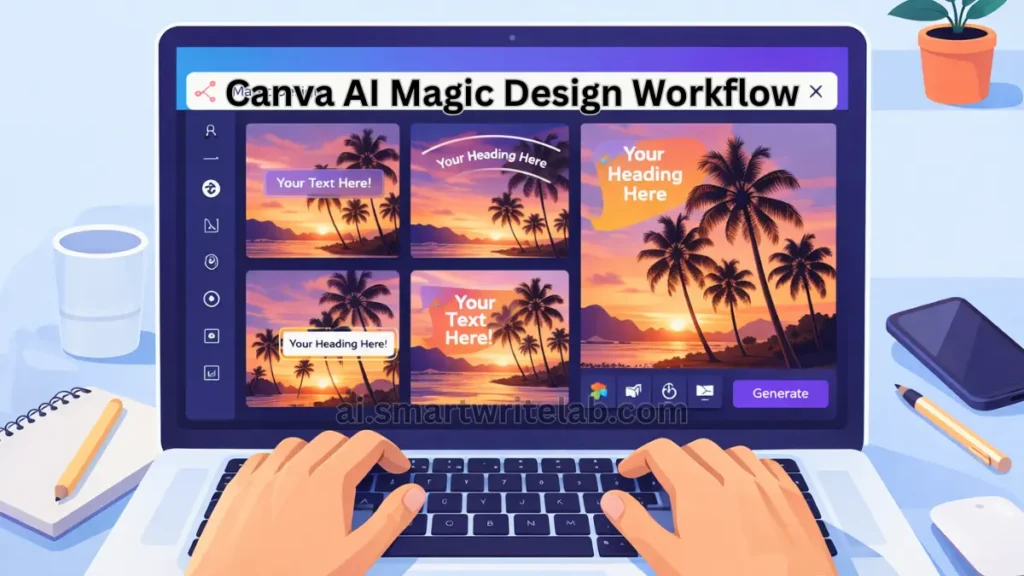
Step 2: Using Canva AI Magic Design (Correct Way)
Magic Design creates layouts based on your content.
Best Use Cases
- Pinterest pins
- Instagram posts
- Presentation slides
How to Use It Properly
- Add your text or headline
- Open Magic Design
- Choose a layout, not the final design
- Manually adjust colors, spacing, and fonts
Magic Design gives a starting point, not a finished product. Editing is essential to using Canva AI effectively.
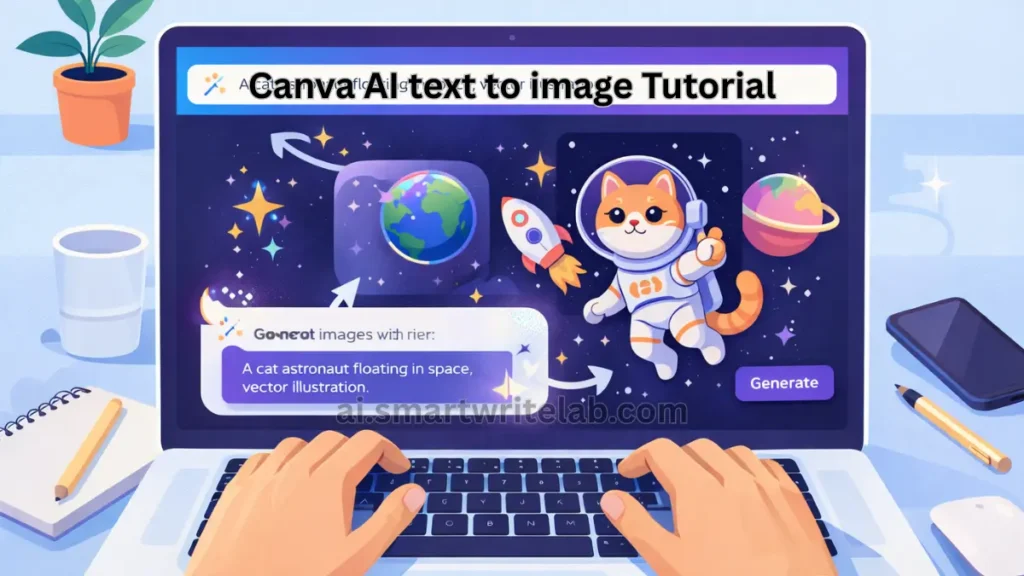
Step 3: Using Canva AI Text to Image
This feature helps create custom visuals when stock photos don’t meet your needs.
Example Prompt
Flat illustration of a student using AI tools on a laptop, clean educational style, soft colors, minimal background
Best Practices
- Describe style + mood, not brands
- Avoid copyrighted characters
- Use illustrations more than realism for blogs
Text to Image works best when combined with overlays and layout control—another key part of how to use Canva AI effectively.
Step 4: Using Canva Magic Write for Content
Magic Write helps generate short text, not long articles.
Good Use Cases
- Social captions
- Slide bullet points
- Short descriptions
Bad Use Cases
- Full blog posts
- Long explanations
- SEO articles without editing
Example prompt inside Canva:
Write a short Pinterest description for a blog about AI tools for students.
This balanced use shows how to use Canva AI effectively without creating low-value content.
Best Niches for Faceless YouTube Channel (High-Value, AI-Friendly & Monetization Safe)
Step 5: Canva AI for Bloggers (Real Workflow)
High-Value Blogger Workflow
- Write blog content separately
- Open Canva
- Use AI to:
- Create featured image
- Design Pinterest pins
- Build social graphics
- Edit everything manually
This keeps your visuals unique and brand-consistent, which is critical when learning how to use Canva AI effectively for blogging.
Step 6: Canva AI for Students & Presentations
Students often misuse Canva AI by over-designing slides.
Smart Usage Tips
- One idea per slide
- Use Magic Write for bullet clarity
- Keep visuals supportive, not distracting
Using Canva AI as a helper rather than a decorator is the correct way to understand how to use Canva AI effectively for study projects.
Common Mistakes That Create Low-Value Designs
Avoid these mistakes:
- Using AI output without editing
- Overloading text on designs
- Using the same template everywhere
- Ignoring readability and contrast
Google and users both prefer clean, purposeful visuals—not flashy noise.
Canva AI vs Human Design (Reality Check)
| Task | Canva AI | Human Input |
|---|---|---|
| Layout suggestions | Strong | Needed |
| Speed | Very fast | Slower |
| Brand consistency | Limited | Essential |
| Final polish | Weak | Strong |
The best results come from AI speed + human judgment. This balance defines how to use Canva AI effectively.
Is Canva AI Safe for Blogs & AdSense?
Yes, if used correctly.
Safe Usage Rules
- Avoid copyrighted visuals
- Edit AI images
- Keep designs original
- Don’t mislead users
When used responsibly, Canva AI is fully AdSense-safe and Google-friendly.
Final Thoughts
Canva AI is powerful—but only when guided properly. Learning how to use Canva AI effectively means understanding:
- Your design goal
- Your audience
- When to trust AI
- When to edit manually
AI gives speed.
You give direction.
That combination avoids low-value output and creates visuals that actually work.
Frequently Asked Questions (FAQs)
Is Canva AI free?
Many AI features are available in free plans, with limits.
Can beginners learn how to use Canva AI effectively?
Yes. No design background is required.
Is Canva AI good for blogging?
Yes, especially for images and social visuals.
Can Canva AI replace designers?
No. It supports design, not replaces creativity.


1 thought on “How to Use Canva AI Effectively (Step-by-Step Tutorial for Beginners)”